Time To Plan Your Fall Expedition

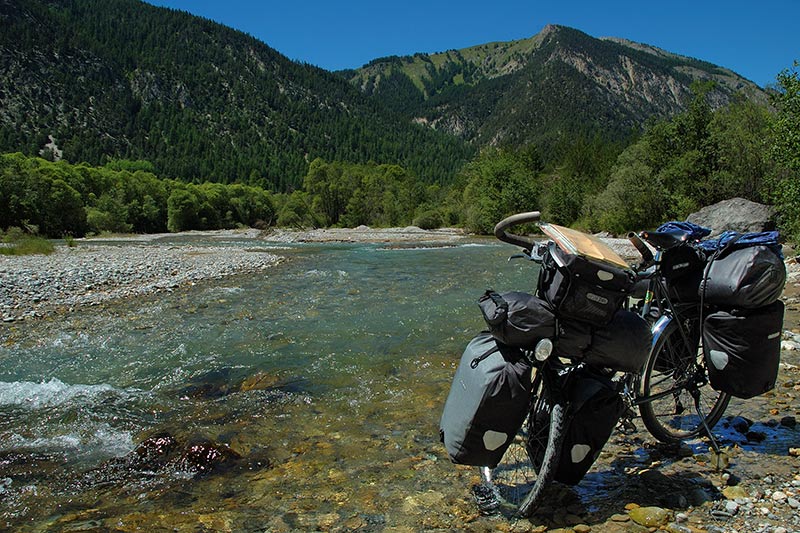
We build a lot of bikes that are perfect for adventure, so here are a few two-wheeled touring ideas for the fall season that’s fast approaching.

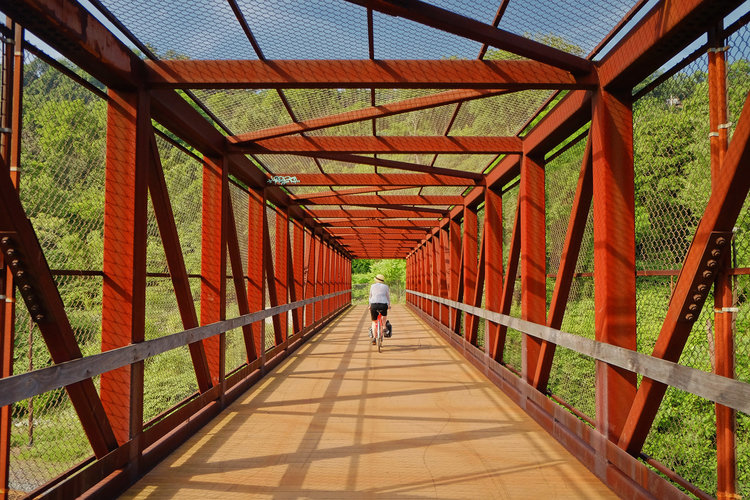
Part of the Cross Washington Trail

The Cross Washington MTB Trail – This route stretches all the way from the Washington coast to the Idaho border. By linking up various MTB trails, dirt roads, and a few sections of pavement, this trail is somewhat more scenic than the full Cascade to Polouse (aka Iron Horse) trail. The full route varies in difficulty from easygoing rail trail to technical singletrack. The Eastern half also requires careful water management due to the desert environment. If that sounds like too much, the good news is that you can use exactly as much of the trail as you desire. A day trip out from Rattlesnake Lake makes a great shakedown ride for your touring setup. It’s also perfect for a lovely 2 or three day camping trip out to Yakima and back. The difficulty on this trail is adjustable to fit your needs. The route officially begins in La Push, but sections are easily accessible from Seattle if you’re only doing part of it.

The Dalles – Located on the Washington/Oregon border, The Dalles are a labyrinthine collection of country roads of varying difficulty, with lots gravel, pavement, and primitive options. It’s truly a “choose your own adventure” opportunity. The roads themselves are some of the most enjoyable to ride to be found anywhere, and the views can be breathtaking.

Vancouver Island

Vancouver Island – While possibly a bit wet for fall riding, Vancouver Island boasts an abundance of natural beauty and a wide assortment of cycling possibilities. From the Galloping Goose trail out of Victoria to the Saanich Peninsula, there’s ample opportunity to enjoy some classic views of the Pacific Northwest (and some fun hills in the bargain). It’s proximity to Seattle makes it a tempting getaway for those of us needing to get out of the city for a bit.

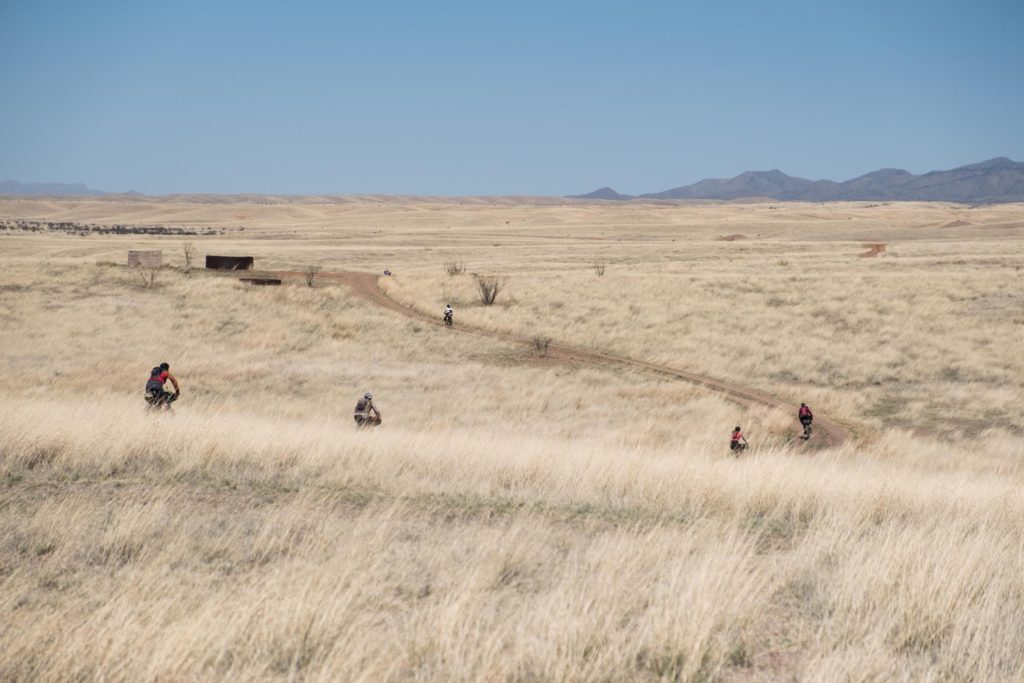
Sky Islands Odyssey – East Loop

Sky Islands Odyssey – Fall weather will definitely be a plus in the Arizona sun. The East Loop is a mild, meandering tour through classic western desert vistas. Passing ghost tows, abandoned mines, and probably a fair number of horned lizards, you’ll find regular access to campsites and resupply opportunities. Great for those new to bikepacking or experienced riders that want something relaxing.

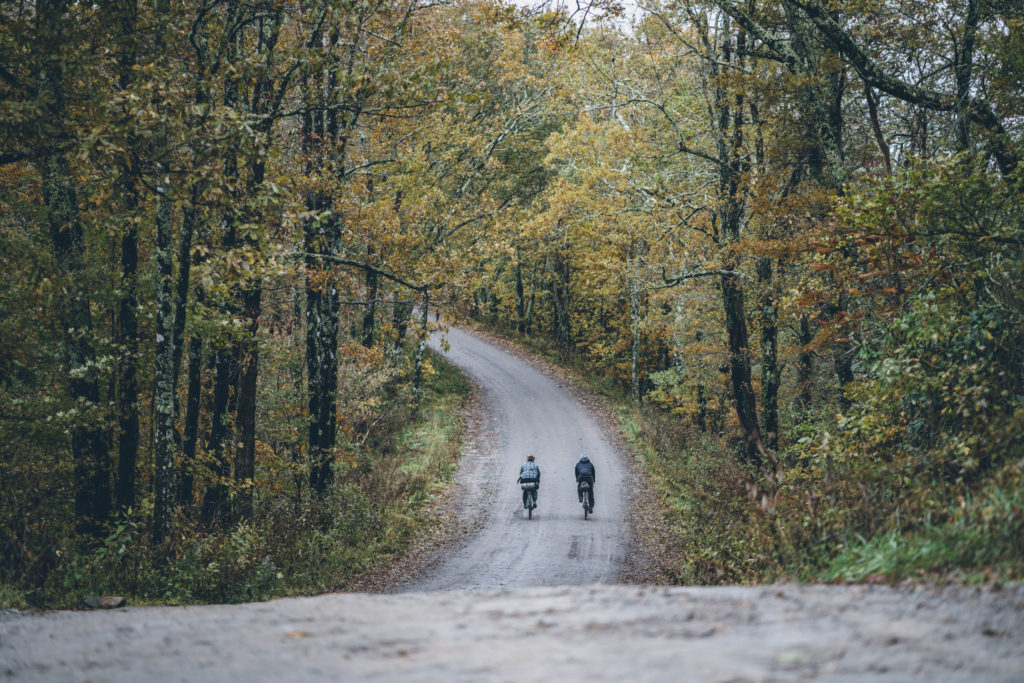
Appalachian Gravel Growler

Appalachian Gravel Growler – With 217 miles through the Blue Ridge Mountains and over a dozen breweries to visit, this might be the perfect ride to experience some relaxing fall color. Asheville, NC is the focal point of the ride, but you’ll see some of the best gravel roads in the Eastern US while visiting the area’s breweries and small towns.

The GAP Trail and C&O Towpath – This is perhaps the best known set of rail-to-trails in the US and is famous for being a great ride for all ages and abilities. The full route covers 333 miles between Pittsburgh and Washington DC and is known for being a perfect way to spend a leisurely vacation on a bike. To see a well done write-up and itinerary, check out what Bikeabout.com has to say. These are just a few ideas to whet your appetite for the open trail. Access to interesting trails and routes online is better than ever, so take a look around the web and you’ll be able to find something just right for your dream ride.

For more info on the bikes we make for adventure, follow these links:

The Phinney Ridge – disc brake all-road versatility

The Adventure – classic 700c touring bike

The UTB (Ultimate Touring Bike) – 26″ rugged international touring

The Makeshift – Rohloff or Alfine internally geared touring

Travel bike option – take your bike everywhere

Building Tandems the Rodriguez Way

At Rodriguez Bicycle Company, we build a lot of tandems. We’ve done it for 46 years now, and in that time we’ve learned a lot. Tandems require a different approach than single bikes. Every force put into a single bike during a ride is at least doubled, and sometimes tripled, when riding a tandem. This means every design decision has serious repercussions for ride quality as well as rider safety. In this article we are going to explain why and how we make these decisions when building a Rodriguez or Erickson tandem. We’ll take them in order of importance.


Fit – the most important decision

Every Rodriguez and Erickson tandem is built custom to the riders’ exact fit. Every one. This sets us apart from every other tandem manufacturer. We’ve learned that a tandem that isn’t comfortable to ride is a tandem that sits in the garage, unridden and unloved. Fitting one rider to one bike can be challenging, but fitting two riders to one bike requires the extra effort of a custom frame. This also allows us to build each tandem to perfectly suit the goals of each team of riders, whether that’s a 26 pound ultralight race tandem, or a double step-through tandem frame for an older (uh…wiser) couple that just wants to keep riding together as long as possible. We meet you where you need to be.

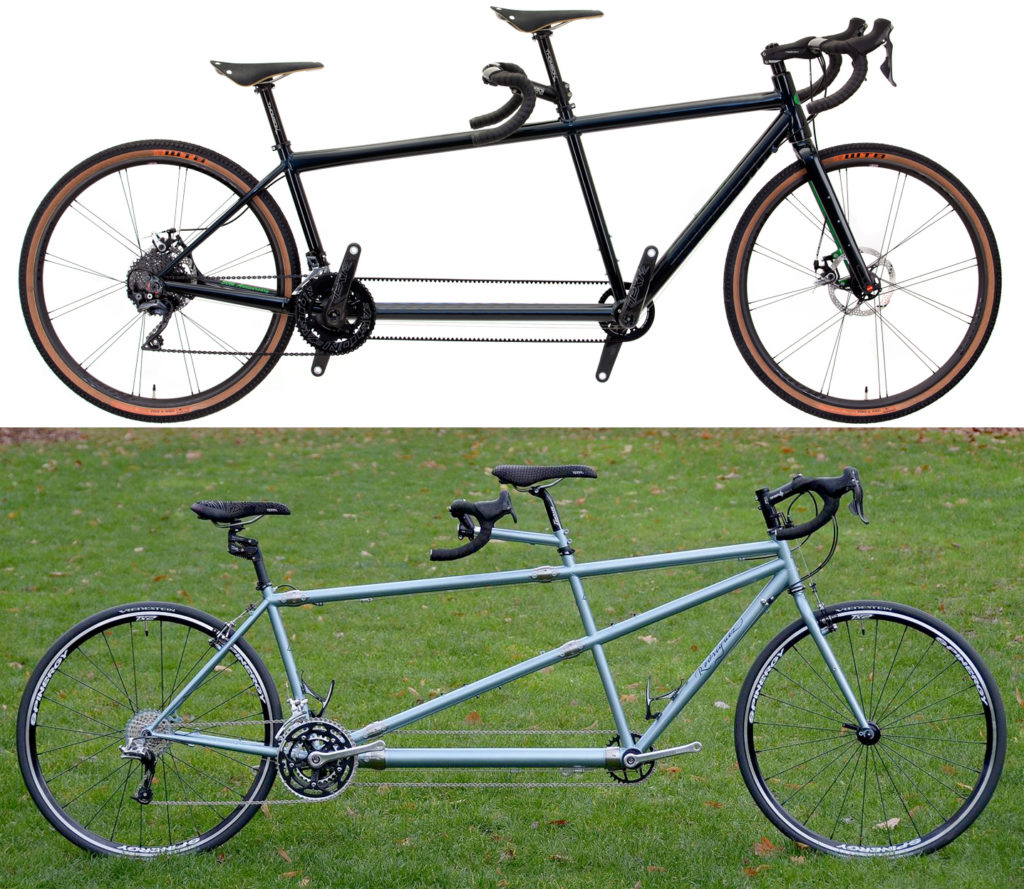
Fit is also the reason we rarely use a belt drive for our timing gears. We get a lot of questions about Gates timing belts for tandems these days. They work well to connect the two cranks together, but they are restrictive in one particular way: they drastically limit how long the stoker cockpit can be. A comfortable stoker is a happy stoker and forcing them into a cramped, short compartment is never a good idea. Although the timing belt looks cool, it will look less cool sitting in the garage because your stoker doesn’t enjoy riding the tandem.

We do build occasional tandems with belts if the stoker’s fit works out. If belts become available in variable lengths, and we can build without stoker comfort compromises, we will be happy to recommend them to more couples. Until then, consider what problem you’re trying to solve with a belt, if any, and whether the compromise is worth it.

The tandem above uses a belt for timing. As you can see the stoker’s handlebars end up almost directly under the captain’s saddle. The Rodriguez tandem on the bottom has a much roomier stoker cockpit, allowing for greater comfort and fit flexibility. Note the lack of stiffener tube in the top tandem as well.


Frame – the most permanent decision

To the untrained eye, tandem frame designs can look very similar, but to an experienced builder there are subtle yet important differences between designs. Our design choices can add complexity and time to the frame building process, but we think it’s worth it to our customers.

Designing a tandem frame is a formula that balances strength, handling, and rider comfort. The frame needs to be stiff enough to handle two riders putting all their weight and strength into it while still being compliant enough to give a smooth and comfortable ride. If a tandem is too stiff then it will be jarring to ride and therefore unridden. This is why we almost always start with steel. It provides a reliably smooth ride, fantastic strength, and can be made as light as the riders require for their needs. Desired riding characteristics can be achieved through tubing choices, tube shape, and geometry design all of which are fine tuned to the owner’s needs. These decisions build the foundation on which all the other parts rest.

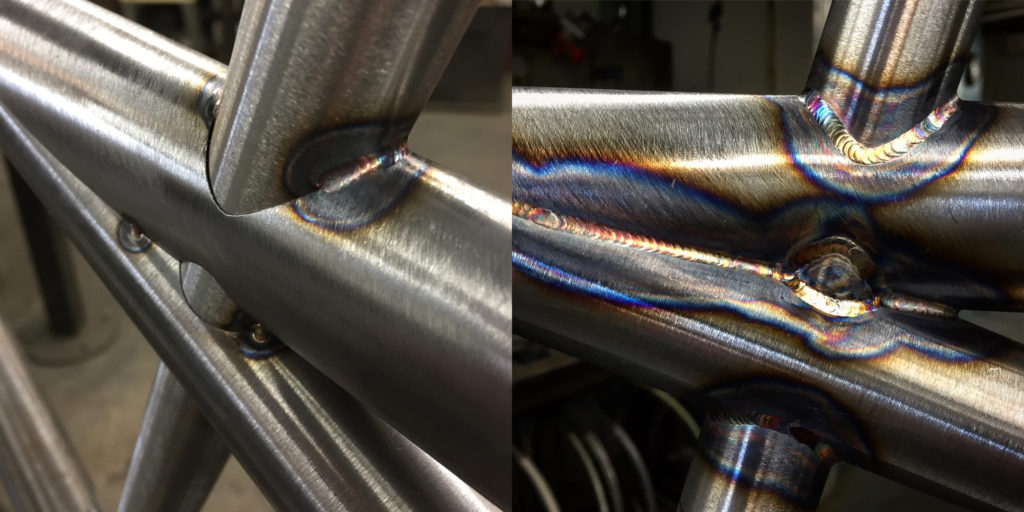
One feature that almost all of our tandems have is a stiffener tube that transverses the length of the bike from the head tube to the stoker’s bottom bracket shell. (see the above image) Correctly mitering a tube to join the bottom bracket correctly is a difficult process, but one that we know is worth it. It stiffens the frame overall, but by joining the tube directly to the bottom bracket you gain a frame resistant to the twisting forces of the stoker’s pedaling and a frame much less likely to crack from stress. Our stiffener tubes are also one continuous tube, not two tubes welded into place. (see image below) Again, this is more difficult, but worth it for the strength and stiffness this method provides. A pierced tube will not flex at the captain’s seat tube the way a pieced together tube will.

Here’s an example of a junction assembled with pierced tubes. Piercing, rather than joining two separate tubes, maintains maximum strength and rigidity.

Most tandem builders have stopped using stiffener tubes in recent years. This is to save time in their build process. Time is money, after all. Some believe it makes the frame lighter, but is that true? Surprisingly, no. All the other tubes have to made stronger and heavier in this type of design so any weight savings is negated. Leaving out the stiffener tube also results in a frame this is less resistant to flexing at the stoker’s bottom bracket. The frame will be more likely to twist under load even if the other tubes are heavier because there is no triangulation. While we do offer lower priced Rodriguez tandems without stiffeners, they are not the main choice of our customers who want a high performance build. Leaving out the stiffener saves the builder money, but there is no getting around the fact that it is a performance compromise.

Fork – critical to both handling and safety

There’s no getting around how critical the fork is to tandem riders. It needs to be stiff and it needs to be strong. We have two styles of tandem forks and both are made from steel.  Unlike a single bike, where we can use aluminum or carbon fiber forks, tandems work better with traditional steel forks. We have a heavy duty fork that can handle the weight of the riders as well as a fully loaded touring setup with panniers and frame bags. We also build a lightweight steel fork for riders that want to save weight but still have a fork that they can rely on in difficult situations like sprinting and cornering under speed. Having a fork that flexes too easily, especially in regards to the steering tube, can ruin the handling of an otherwise well built tandem.

For these reasons we no longer use or recommend carbon forks in our tandems. While many carbon forks perform well on single bikes, they have proven to perform poorly on tandems. Carbon steering tubes flex more easily and are more prone to breakage than a steel steering tube. The legs of a carbon fork have the same issue and can provide a “noodly” effect even if they are built strong enough to stay intact. There are also few carbon fork manufacturers that will warranty or recommend their forks for tandem use. They know it’s not a good idea. Even so, many tandem manufacturers put these carbon forks on their tandems even though the fork maker has specifically stated ‘not for tandem use’. If the fork manufacturer says it’s not strong enough for a tandem, you should believe them.

Safety aside, the benefits of a steel fork in both handling and reliability for tandem use greatly outweigh saving a couple of ounces of static weight.

Components – fine tuning your needs

Tandem components go through a lot. Shifting gears can be especially challenging with two people applying force to the drivetrain. Stopping a tandem requires more than 3 times as much force as a single bike, thanks to the Inverse Square Law. Wheels on a tandem need to be especially strong to hold up to the forces of cornering, climbing, and descending under two adult riders and the things they carry with them. We can carefully curate a set of components for your tandem that will meet your needs and hold up for the long haul. These choices will be part of the conversation when you get a tandem from R+E. One size does not fit all and we keep this in mind when building your tandem.

Experience – the last crucial piece

All of this information and insight comes from building and riding tandems for decades. Every part of our design has been looked and revised over the years and we are confident that we are building the best tandems in the business. We build because we ride, and we don’t want to build something we wouldn’t want to ride ourselves. If you want to know more just give us a call or shoot us an email. We will be happy to have a conversation and go into as much detail as you need.


For more information on our history with tandems, check out the articles below:

Other articles on bicycles, tandems, and the bike industry can be found here.


Just Sit On It!

This article was written Feb. 6th, 2015. Prices quoted reflect that date, and may have changed if you are reading this at a later date.

Visit us online at rodbikes.com

Bodyfloat Seat Post Installed and Adjusted • Just $250 at R+E Cycles • (206) 527-4822

What do the roads you ride feel like?

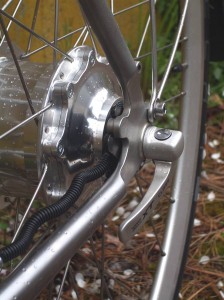
Do you find yourself having to stand up frequently over cracked, crumbling asphalt on your rides? How about you commuters? Is your expletive quota reached on just about every commute? I’m sure that you’re hoping for the city to fix the road, but that’s just wishful thinking now, isn’t it?

Now you can ride in comfort and quiet while sitting on your bicycle seat. “Surely you jest!” you’re thinking to yourself right now, but I’m not. Let me fill you in on the secret we’ve discovered.

Suspension seat posts have a long history, but most people think of them like we did….only worth using on the back of a tandem. That was before the Bodyfloat seat post.

If you would like to make a comfort upgrade to your bicycle that really works, and is high performance, this article is for you. Let me take you on a short journey into the world of suspension seat posts and show you where it is now.

First, a little history:

Early Attempts at Comfort:


As the Nation’s oldest tandem manufacturer, we’ve got a long history with every suspension style seat post imaginable. All the way back to the early Hydrapost, suspension seat posts have been added to almost every tandem we’ve built. Stokers (the person on the back of a tandem) are not aware of upcoming bumps unless the captain (the person up front) warns them in advance. Needless to say, there are lots of times when that does not happen, and the stoker feels the full force of the bump. So, tandem manufacturers like us have always tried to use a seat post that would mitigate this problem a bit.

The first designs were to try to make the seat post into a shock absorber. While a few of these seat posts were somewhat effective, they were not really the kind of product that anyone wanted to use on a high performance single bike. They were heavy, and only provided some ’emergency’ relief for that ‘whoops I forgot to warn you on that one’ situations. They basically worked like a pogo stick built into the seat post. One problem with this design is that your seat tube is at an angle (usually 73° from the ground or so), but gravity is trying to pull your body down at a 90° angle. This creates a lot of what’s been called ‘stiction’. Basically, the shock absorber is stuck in place until you hit something violent enough to break it free. When it breaks free, it drops, but then returns with great force (like a pogo stick). Kind of a delayed reaction with a slightly dampened energy return. In the absence of any other designs, these were used for several years.

You still see these seat posts all over on ‘comfort bikes’. They are very inexpensive these days, but don’t really work very well.

Comfort in the 1980’s and 1990’s
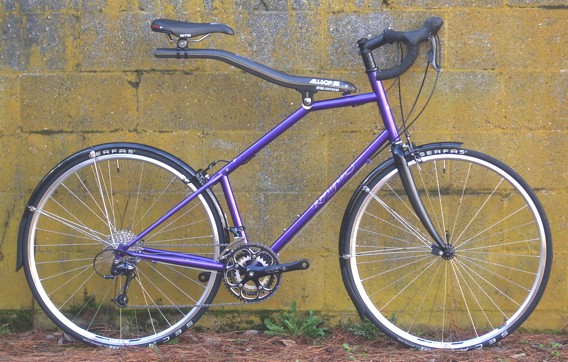

The first product to really work well was the Alsop Softride beam. This was in standard use on many brands of tandems for the stoker position for almost 20 years. We also built a lot of single bikes for the beam through the 1990’s. It required a special frame design, with special braze-ons and lots of specific parts. So, it didn’t really take off too well as you couldn’t easily add one on to your existing bike. When used though, this product did exactly what it was supposed to. The beam dropped a little bit with the riders weight (straight up and down and not at the 73° angle). When the rear wheel dropped into a rut, the rider stayed at the same height. Like the suspension in a car, the wheels could go up and down, but the rider didn’t feel the impact. No sticktion, great suspension, but your bike had to be custom made to work with the design. My wife and I ride a tandem with a Softride beam to this day. She swears by it, but the company is now gone.
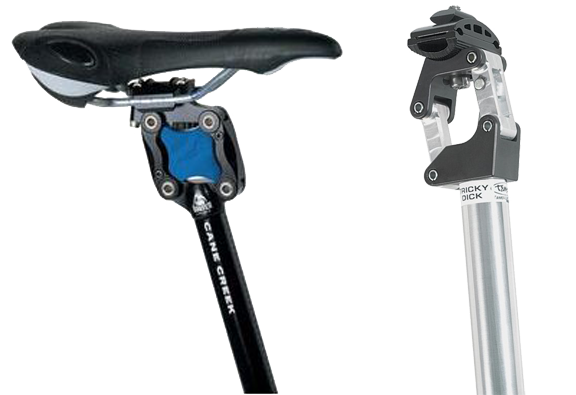

After the Softride company went out of business, we were stuck with various seat post designs to try and provide some relief to stokers. The shock absorber version was not so good, so we tried some of the parallelogram designs that were out. These tried to take the stiction away by attaching the seat to a parallelogram and allowing the rider weight to raise and drop straight up and down like the Softride beam did. The problem that we ran into with them was that the ‘falling rate’ of the spring design was wrong. You could say they were built backwards. The spring was strong when the seat was at the top, and got weaker as the seat moved downward. So, if a bump was hard and the seat post began to drop, the rider would end up all the way at the bottom of the action. Then they would have to lift their weight back off of the seat to get the seat back up because the spring was too weak to actually lift the rider.

Even with their imperfections, we were limited to use these for the stoker positions of many tandems. Some people used them on single bikes, but like I said, these designs were not very high performance. For those who wanted something incredible, the wait was almost over. In 2013, the answer would arrive in the form of the Bodyfloat.

“OK Dan! Bring it in to this century already!”

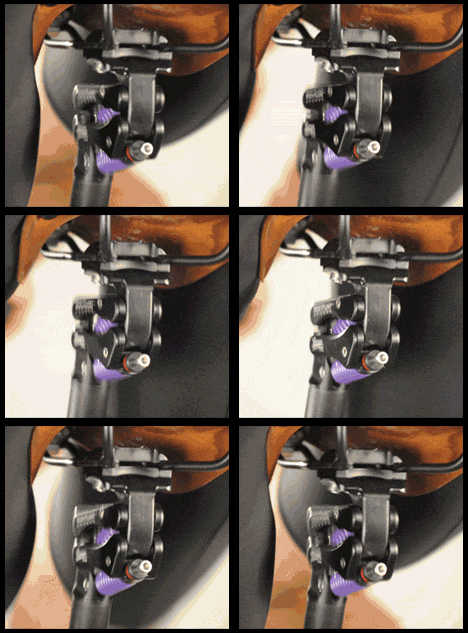
In 2013, one of the guys who worked on the design for the original Alsop Softride beam visited our shop. He brought with him a new seat post design that he was very excited about, the Bodyfloat. He did a demonstration install/setup for Scott (our shop manager) on his personal bike. It was near closing time, so Scott rode the bike home with the post in it, and then he rode it back in the next morning. He said to me “I’m buying that seat post, and leaving it on my bike!” That’s a testament to the performance of this new post. Scott has ridden every suspension post available, and never thought he wanted one on his personal commuter. This post changed his mind.
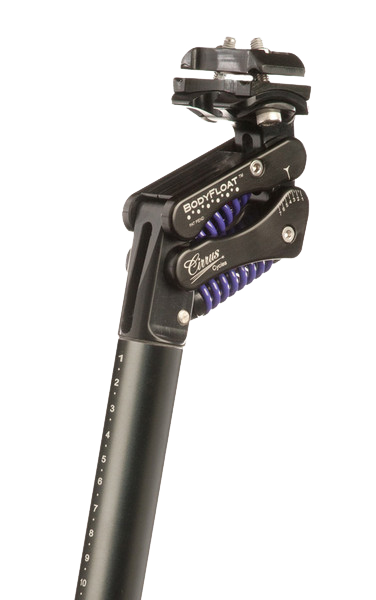
The 2015 Bodyfloat Seat Post Just $250 at R+E Cycles We were so excited about the new design that we invited the Bodyfloat representative to display his post in our Bike and Pike event last year to show our customers his new product. It was an immediate smash hit, and several of our customers ordered them for not only their tandems, but their single bikes as well. Then, just as quickly as it took off, they couldn’t produce them fast enough for our demand. We spent several months without them. I was kind of bummed out because I wanted to try one on my own bike. Well, good news. They figured out their production issues, and now they are readily available, and 40% less than they were a year ago! The original version was Titanium at $425, but the new version is aluminum at just $250. The Ti version is still available for the rider that needs a super long seat post.

The Bodyfloat works on a different principal than all other suspension seat posts before it. Instead of having a falling rate design, it has a ‘rising rate’ design. The Bodyfloat springs are lighter at the top, and gradually get stiffer as the seat drops. No more having to lift your self off the seat to raise the seat back to start position. It also drops just slightly as your weight sits onto the post like the old Softride beam design did. The wheels can drop in and out of bumps while you, the rider, stays stationary in space.

I have since installed one on my bike and had the same experience as Scott. I will keep it on my bike, and I’m considering installing one on the Captain position of my tandem as well. It’s amazing how I can only hear the bike hitting the small bumps and cracks in the road, but I do not feel them anymore. I have to say, I’m impressed!

I can talk until the cows come home, but maybe you should just come to the shop and try one for yourself. Give us a call at (206)-527-4822 and set up a time to come by with your bike and your riding gear. We’d be happy to set one up for a test ride.

Not exactly ‘Plug and Play’

The Bodyfloat does need to be adjusted to your weight and riding style by a professional. Not to worry though, we’ve been trained in the proper set-up and will do it for you for FREE with purchase of a Bodyfloat! Free is a very good price.

“But…but…wait! I ordered one online and it’s not set up for me.”

If you’ve already ordered one online, or from someone eles who didn’t set it up for you, no need to worry. We can set it up for you for just $25. Just call us for an appointment.

Look Ma! No Derailleurs!

Look Ma! No Derailleurs!!
(As originally published in The Bicycle Paper in Summer of 2011

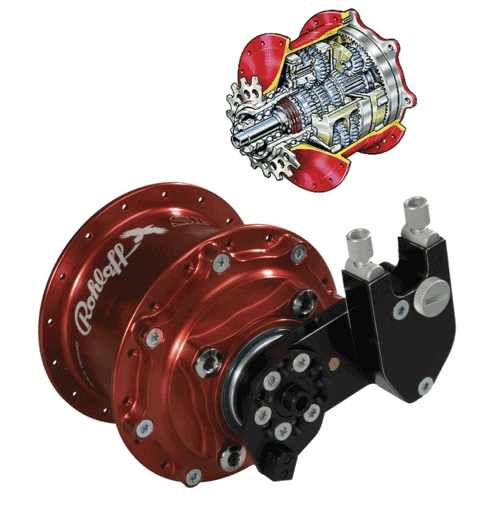
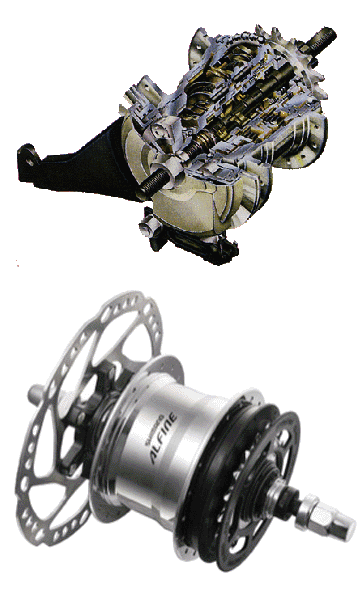
Rohloff Speedhub illustrationsOver the last 8 years or so, we’ve seen a lot of interest in internally geared rear hubs (IGH for short). A bike with an IGH has all of the gears housed inside the rear hub instead of using traditional cogs, derailleurs and chain rings. Remember your old 3-speed (or your parent’s old 3-speed)? It’s like that, but with a lot more gears. IGH technology is an old one (over 100 years old actually), but with the invention of derailleurs, the 3-sp IGH was abandoned by most cyclists for the unlimited gearing options of the derailleur. I don’t see the end of derailleurs anytime soon, but for those who are investigating IGH, we’re trying to help you with your homework.
When Todd Bertram, a master frame builder here at R+E Cycles in Seattle, returned from Germany in 2003 he brought with him something special. It was a finely crafted piece of German engineering known as the Rohloff Speedhub. He’d spent almost two years in Germany, worked in the Rohloff factory, and had seen a lot of these on bicycles throughout Europe. He had a sneaking suspicion that soon, this engineering marvel would capture the eye of American cyclists as well.

A Rohloff hub has 14 speeds instead of just 3. Now the IGH rider could have the same range of gearing that would be found on a traditional 27-speed touring bike. A bicycle equipped with a Rohloff Speedhub has no derailleurs to worry about, and is virtually trouble free as far as shifting goes.

Since 2003, news of the Rohloff Speedhub slowly made the trip around the world to the United States. What used to be a curiosity is now an accepted design. Because of its trouble-free reputation, it has become a popular item with touring cyclists, and ‘go-anywhere’ cyclists. Building Rohloff equipped bicycles has become an industry in and of itself. The special hub calls for some special frame design to make life easier for the rider though. Custom frame builders all over the U.S. are trying to design adaptations for their touring bikes to accommodate customers who are requesting this new hub.

As the builder of Rodriguez Bicycles, we got lots of questions from curious adventurers, but we didn’t start getting a lot of orders until 2009. Since then, sales have ballooned. We’ve seen our sales of Rohloff equipped bikes double each year over the last 3 years. As of November 2011, Rodriguez Bicycles has become the number one builder of Rohloff equipped bicycles in the United States as confirmed by Cyclemonkey, the exclusive U.S. Rohloff importer. (Probably the reason we were asked to write this article).

Who wants an IGH? While most of our Rodriguez Touring bikes are still equipped with derailleurs (just Shimano these days) higher end touring cyclists have been looking for alternatives to derailleur equipped bikes. This is because Campagnolo, SRAM and Shimano have all but abandoned the high-end touring market. Instead, the big 3 have focused their advertising and development on racing equipment that’s expensive, doesn’t hold up for touring, and limits the gearing ratios too much for touring. Shimano still has a some great derailleur options for the sub $2,500 bike market, but for the high end, a lot of folks are now considering the move away from derailleurs.

Another customer who has interest in IGH is the urban commuting customer. Commuters are very hard on their equipment, and some of them are very attracted to the idea of a bike specifically designed as a trouble-free commuter.

What are the IGH options? With the worldwide popularity of the Rohloff Speedhub on the rise, Shimano has taken notice of this new market as well. Shimano has been building some IGH hubs for several years, but their offerings have always been suitable for more of an urban commuter bike rather than a serious touring bike.

Shimano Alfine illustrationsLast year, Shimano introduced their first serious entry into the field of IGH touring hubs, the Alfine 11. Now that Shimano is making a run at the high-end IGH market, that has spawned a lot (and I do mean A LOT) of IGH questions from around the world. People (as well as us) were hoping that the new Shimano hub would give them Rohloff performance at Shimano prices. As a major Rohloff builder, a lot of those questions have come to us.
When the The Bicycle Paper asked me to write an article comparing IGH hub options, Jeremy and I were actually in the middle of answering those very questions in the form of an FAQ series on our website. So, as it happens, we have the answers:

In addition to Rohloff equipped bikes, we have now built and sold several bikes with Shimano IGH hubs on them as well. Our experience with the different hubs shows us the best use for each.

We’ll compare 3 different hubs (the 3 we’ve built with): The Shimano Alfine 8-speed, the Shimano Alfine 11-sp, and the Rohloff Speedhub 14-sp. Shimano does make some lower end 8-sp IGH hubs (Nexus), but this article is ‘geared’ toward the more serious cyclist.

You’ll need to be familiar with a few terms:

Gear Range: This is the % of gearing change from the lowest to the highest gear. A good range % between high and low is important for touring. ie. the higher the better. Unlike a derailleur system, for the IGH the gear range is forever. A standard modern day touring bike will come with a gearing range of about 450%. It can easily be adjusted to about 600%, but the 450% gives us a good starting point. By comparison, an old 10-speed bike from the 1970’s would come with a range of 250% or so.

Gear Ladder: Another thing to consider is what we call the Gear Ladder. The Gear Ladder is the % of distance between each individual gear change. On a derailleur system this is adjustable by using different cogs or chain rings, but for an IGH, you bought it, you got it.


First up – The Shimano Alfine 8-sp:
We’ve built several urban commuter bikes with this hub, and even a few sport/fun tandems.

  • This hub is limited to 308% gear range. More than the old 10-sp, but not really enough range for serious touring.
  • The Gear Ladder is very uneven. Ranging from 1st gear, it looks like this: 23%, 16%, 14%, 17%, 23%, 16%, 14%.
  • Wheel attachment is bolt-on only, so no quick release rear wheel.

Shimano Alfine 11-sp:
The gear range is 409%. It doesn’t quite get you to the range of a stock touring bike, and nowhere near the range of the Rohloff.

  • Although Shimano originally planned an evenly spaced Gear Ladder, the final result was disappointing to many rabid IGH fans.
  • The spread between first and second gear is a whopping 30% jump. The ladder runs even 17% and 18% for the rest of the gears, but that first 30% jump is really big.
  • The absence of a quick release makes this hub less desirable for many serious touring cyclists as well.
  • Also, for you belt drive fans, use of a belt drive on either Alfine hub will limit your tire width as well.

Rohloff Speedhub:
The King of the IGH! For the truly serious touring cyclist, the choice is the Rohloff Speedhub. We’ve built touring bikes, mountain bikes, and serious tandems equipped with Rohloff Speedhubs.

  • The Gear Ladder is a uniform 13.6% all the way through the range.
  • The Speedhub can also be ordered with a quick release axle or a bolt-on axle.
  • The design allows for better belt drive/wide tire compatibility.

All in all, the Rohloff is better suited for the customer who wants an IGH, and wants a real replacement for their touring derailleur setup.


Summary: The Alfine 11 is not really the alternative that we or the IGH touring cyclists were hoping for. While it’s a great hub for an urban commuter, our touring customers want more than it has to offer in many ways. Rather, the Alfine 11 is an alternative to the Alfine 8 for the commuter that wants a bit wider gearing range.

The serious touring cyclist will still have to choose between derailleurs or the Rohloff Speedhub.

Since a high quality custom touring bike will run you about $2,000 in our shop, a serious IGH touring bike turns out to be quite a bit more expensive. Even so, many folks are choosing to go that route in order to have the convenience and low maintenance of the Rohloff. We run about 70% derailleurs, and 30% Rohloff for the touring bikes at this point.

If you’re considering a Rohloff or other IGH equipped bicycle, the FAQ section of our website has a dozen or so articles comparing, contrasting, and listing all of the pros and cons of each design.

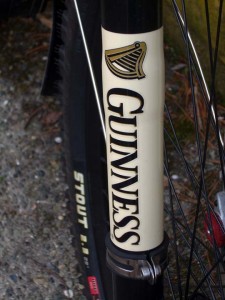
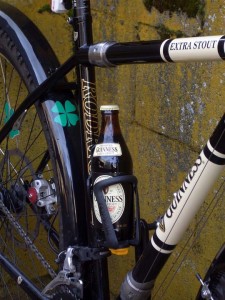
My Goodness, My Guinness!

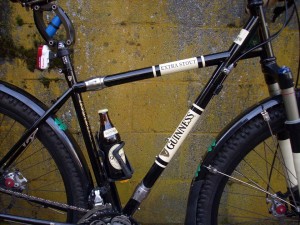
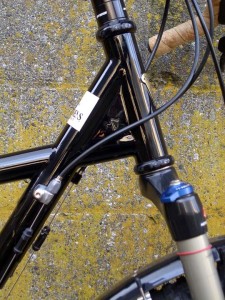
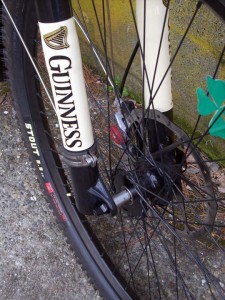
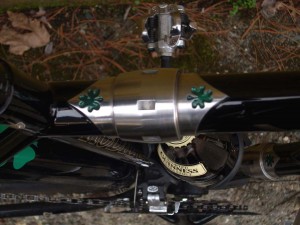
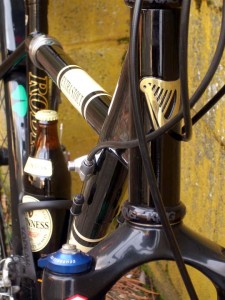
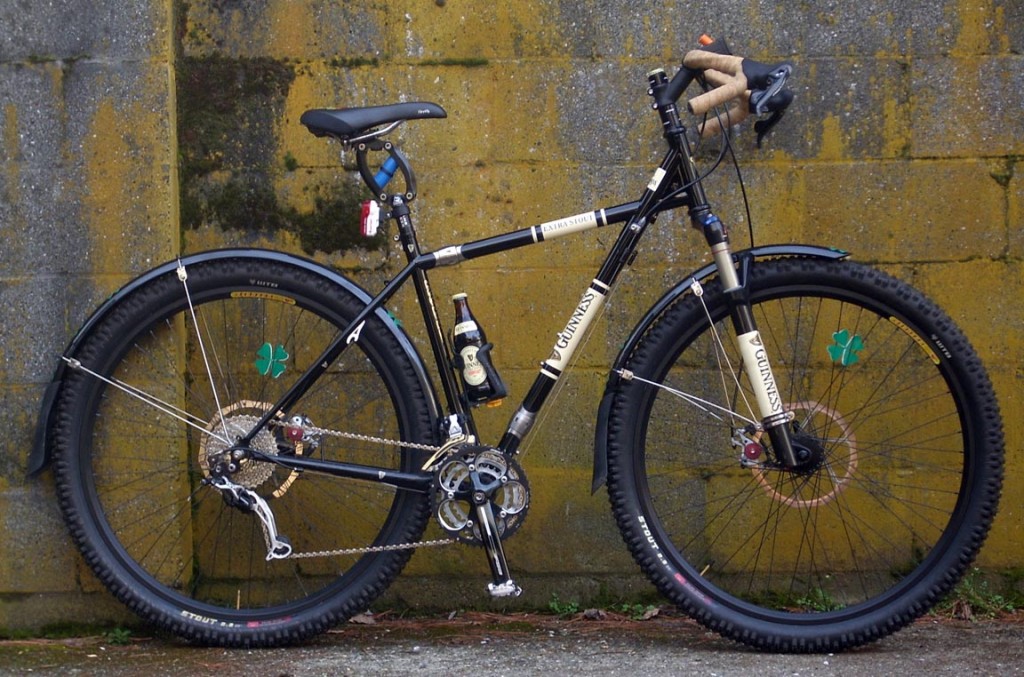
We built this bike a few years ago for a customer who loves his Guinness! He rides it to the shop every St. Patricks Day with a case to share, too.

This bike has S&S Couplers with custom shamrock cut outs, black Phil Wood hubs, Campagnolo Record shifters and a bottle opener on both chain stays!. You can see more of our specialty Rodriguez bikes here or check out the gallery of Anything Goes bikes at the Rodcycle.com Gallery.

Grey Rodriguez Rohloff Tour

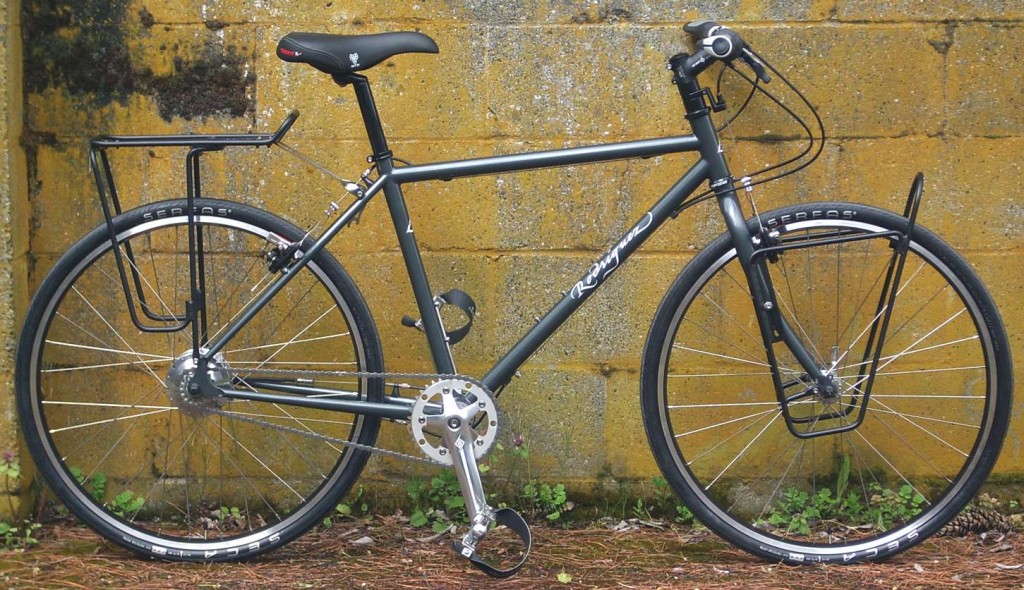
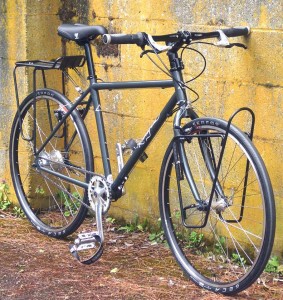
This Rodriguez Rohloff bike is heading for Vermont! It’s a grey, flat bar Rodriguez Makeshift and is ready for loaded touring, or bouncin’ around town.

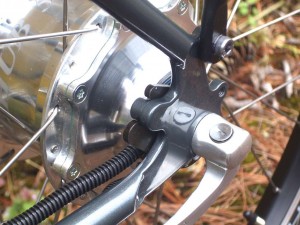
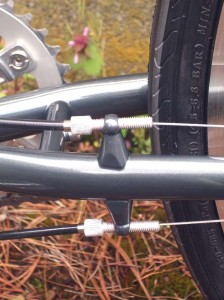
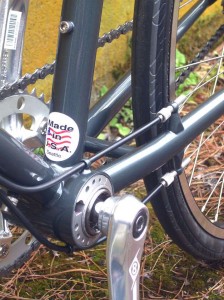
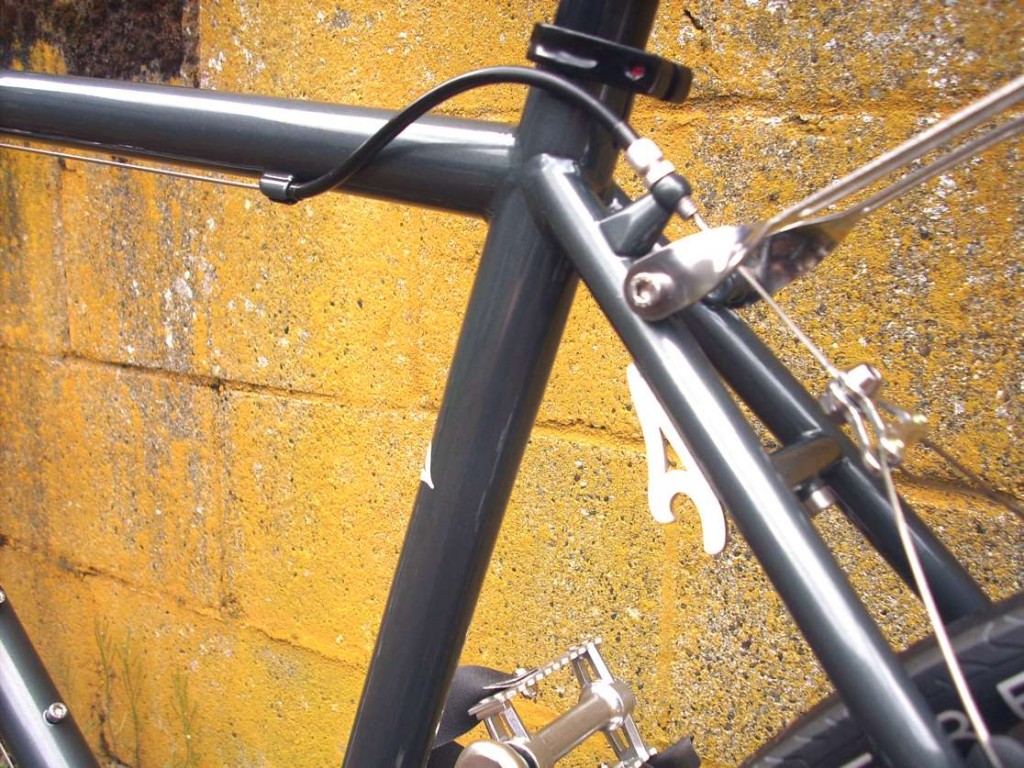
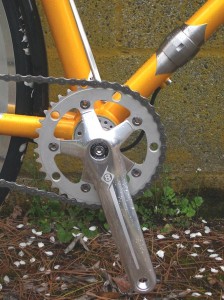
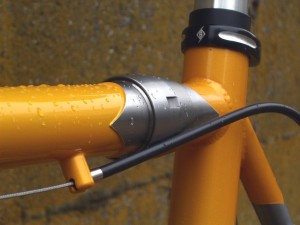
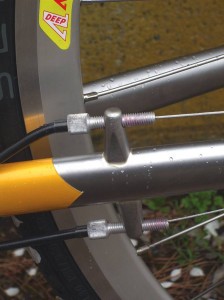
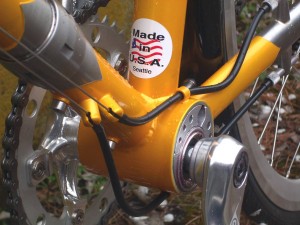
This one comes loaded with all of our Rodriguez differences like clean cable routing, eccentric bottom bracket for chain tensioning.

You can also find out more about our line of Rohloff equipped bikes at our Makeshift catalog page. If you want to see yourself riding something like this in the future, please contact us with any questions!

Rodriguez Bicycle Company is proud to be America’s largest builder of Rohloff equipped bicycles!

Silver, Sporty and Stainless

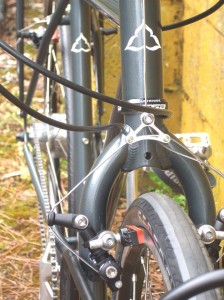
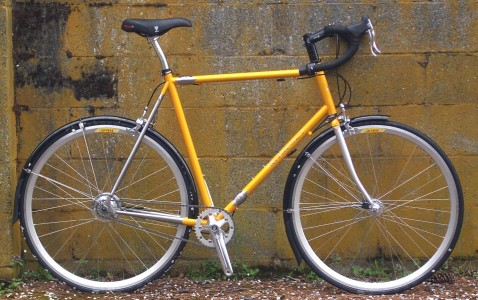
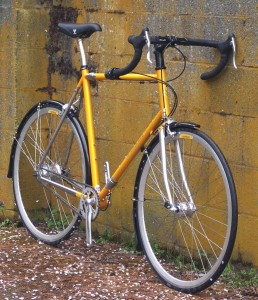
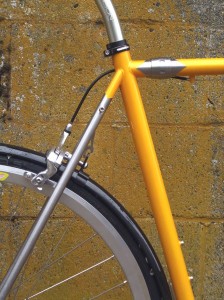
Another Rohloff bike that went out the door last week. It’s completely stainless, with a painted front triangle to give it a classic 70’s feel.

Quick Highlights:

  • Rohloff Speedhub
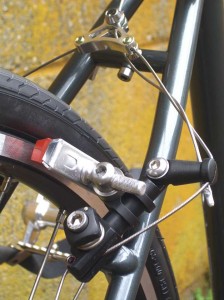
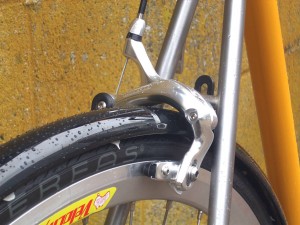
  • Long Reach Brakes for fenders and wide tires
  • S&S Couplers for travelling!
  • Shiny!

All of the specs for this bike can be found at the Catalog page for our Makeshift line of bicycles.

Yellow and Stainless Rodriguez side shot

Yellow and Stainless RodriguezYellow and Stainless Rodriguez

Silver Rohloff on a Rodriguez

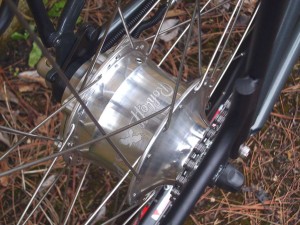
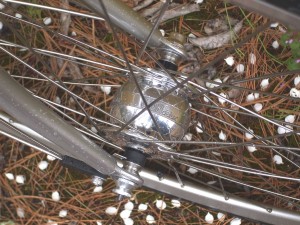
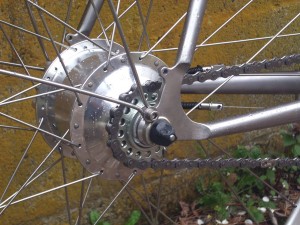
Silver Rohloff Speedhub on a Stainless Steel Rodriguez

Yellow Rodriguez, silver S and S coupler

fenders and wide tires on Rodriguez

Rodriguez Rear TriangleStainless Rohloff cable routing

Eccentric Bottom Bracket of the Rodriguez frame

Silver Rohloff on Rodriguez Closeup