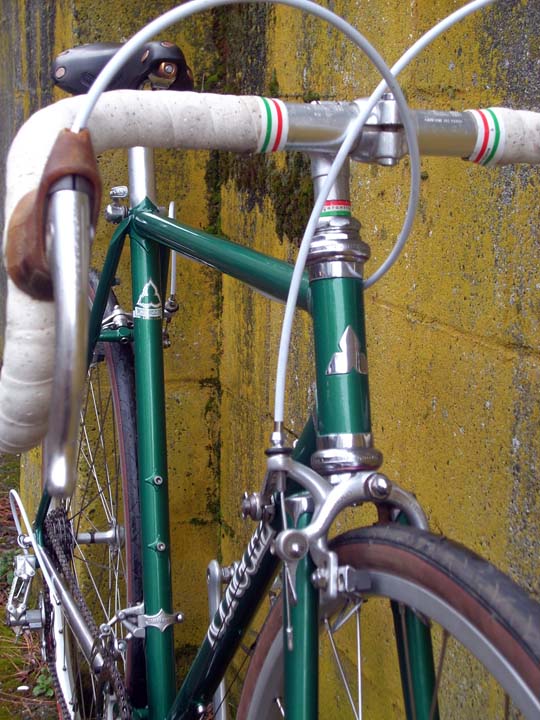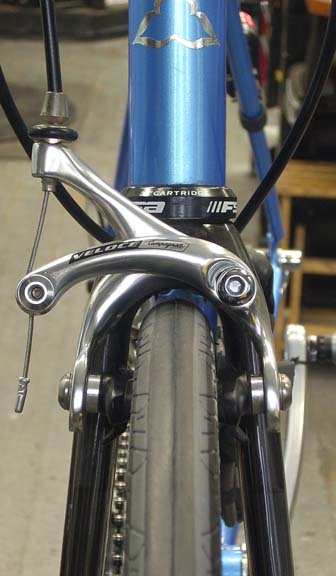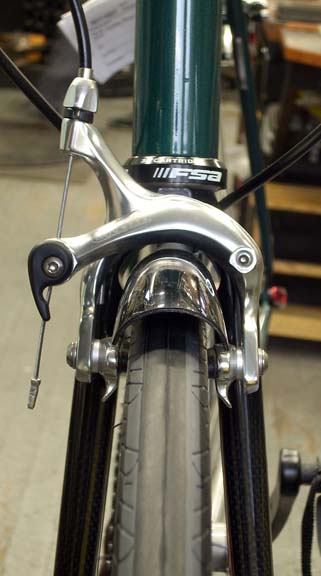
It’s that time of year again. The rainy season is almost here. For those of us in the Pacific Northwest, fenders are a fact of life if you want to ride all year long. If you don’t ride in the rain, you pretty much don’t get to ride between November and June. While some young riders resist fenders on aesthetic grounds, they eventually come around during a particularly miserable winter (looking at you, Alder!).
In this post, we are going to take a look at the ins and outs of fenders so you can make some informed decisions about what to put on your bike, why, and how. What’s the real-world difference between plastic and metal fenders? How much coverage do you need?
Plastic vs Metal
While the vast majority of bicycle fenders are made of polycarbonate plastic, metal fenders have seen a resurgence in recent years. There are practical reasons to argue for both materials, but many hold the opinion that metal fenders have the edge both functionally and aesthetically. Let’s look at the pros and cons of each.
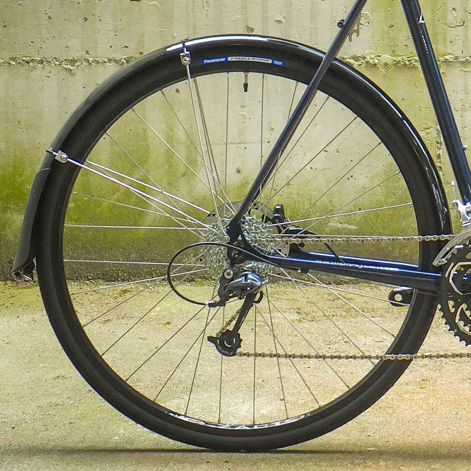
Plastic fenders have a lot going for them. They’re easier to install, for one. Most come with all the hardware you could need and are designed to go on quickly and easily. They can flex during installation to match the wheel diameter without much hassle. Plastic fenders are also very durable and withstand certain types of damage quite well. So what’s the downside?
Plastic fenders flex a lot more than metal fenders, which can lead to more noise. The struts usually included with plastic fenders are also not as stiff as the style of strut many metal fenders use. This can result in a lot of wiggling and rubbing when riding over rough terrain. Hardware is riveted to the plastic so modifications can be difficult if you don’t have the proper tools. Plastic fenders also lose their shine over time and can become dull looking after a few seasons of use. This matters to some people, but not everyone.
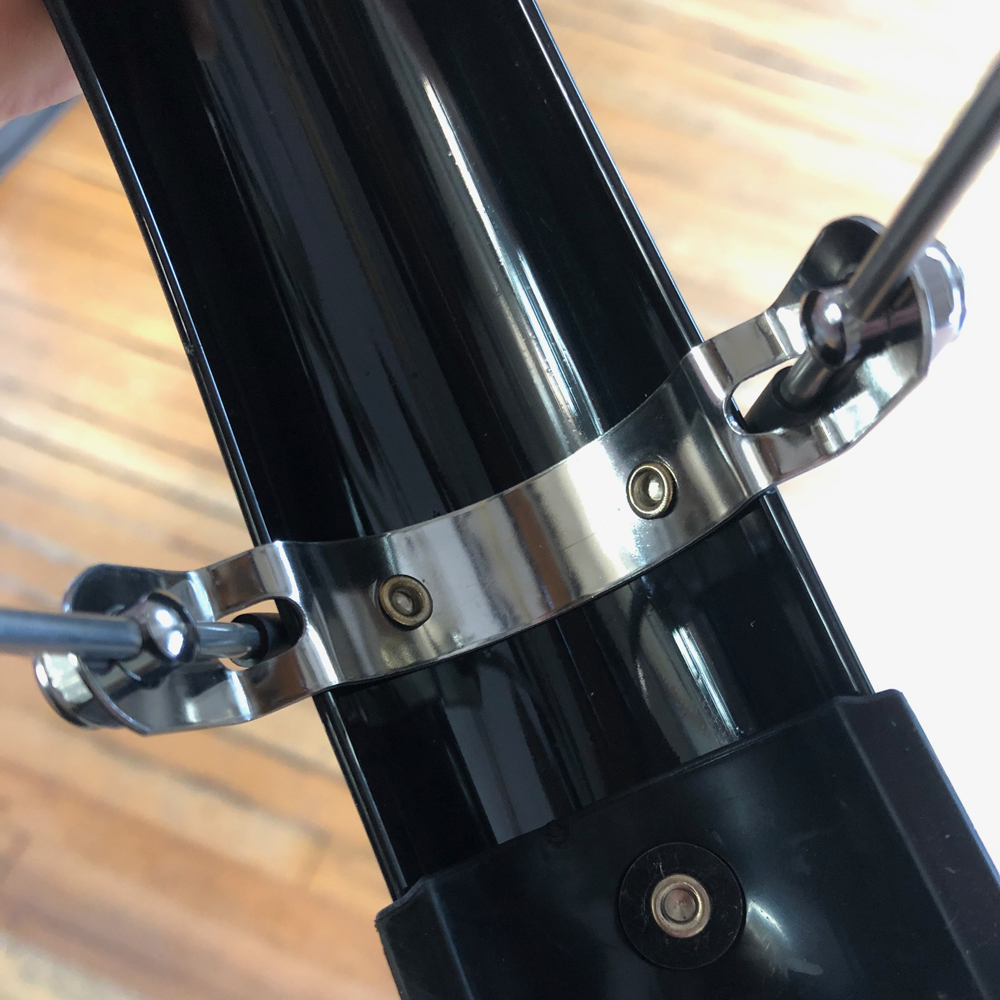
One reason the plastic fenders move more easily is the way the struts are attached. A metal strap is riveted to the underside of the fender and the strut ends are then bolted to each side. This is much more flexible than the struts on metal fenders, which go around the outside in a continuous loop. The strap can also interfere with water flowing correctly out of the fender, causing drips. Minor stuff, but something to be aware of.
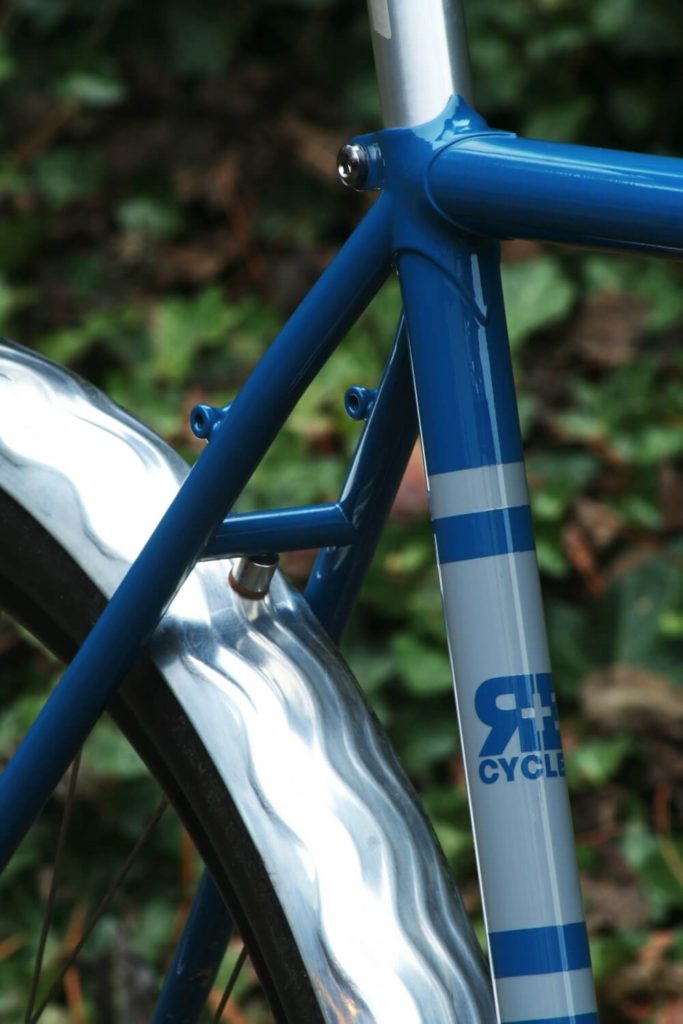
Metal fenders do have a lot going for them. They’re much more rigid than plastic and make less noise overall. The metal only ever needs a wipe down or maybe a polish to look as good as new. They’re very customizable to really fit them to your bike. They can also support a properly installed light system with a little modification.
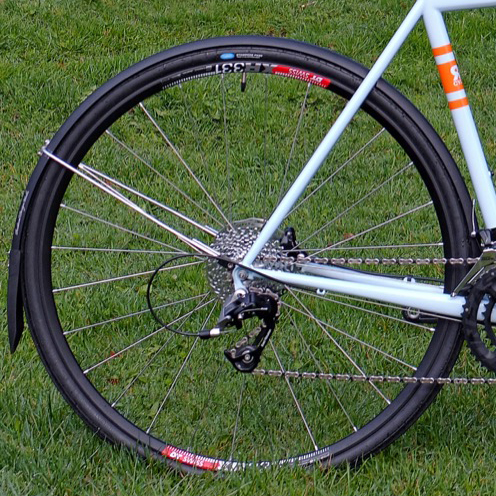
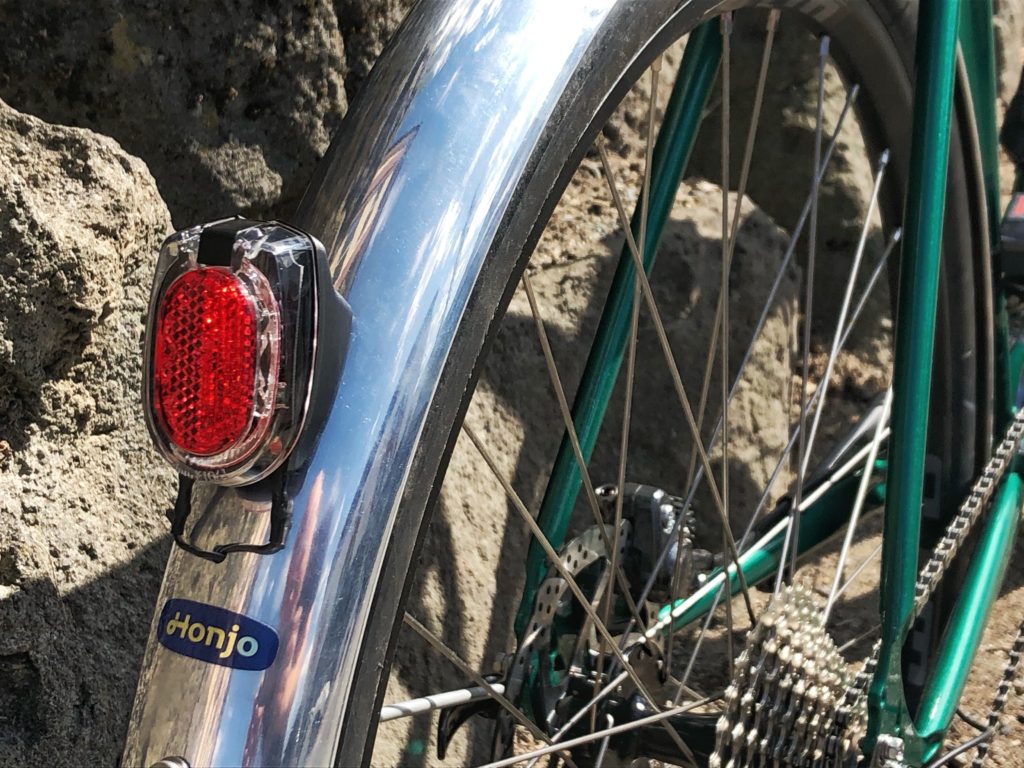
The downside to metal fenders really lies entirely in the installation. It’s time consuming and laborious, especially if you lack either tools or experience, and can be expensive if you have a shop do it for you. Some of this depends on the brand of fender you choose. Honjo makes what most consider the best aluminum fenders. They’re light, stiff, and beautiful. They are also very time consuming to install because each piece of hardware requires drilling a hole into the fender to attach it. Some brands, like Velo Orange, come pre-drilled to make this step a bit easier.
Since metal fenders don’t generally flex, they may not match the radius of your tire. Some brands, like Honjo and Velo Orange, can be “re-radiused” to match your tire. (Velo Orange has a good blog post about that here) Some, like Portland Design Works metal fenders, cannot change the radius very easily. If you force a metal fender into a flexed position during installation, it will eventually crack from the stress. Metal fenders are also more susceptible to impact damage than plastic, especially the ultra-light versions like Honjo.
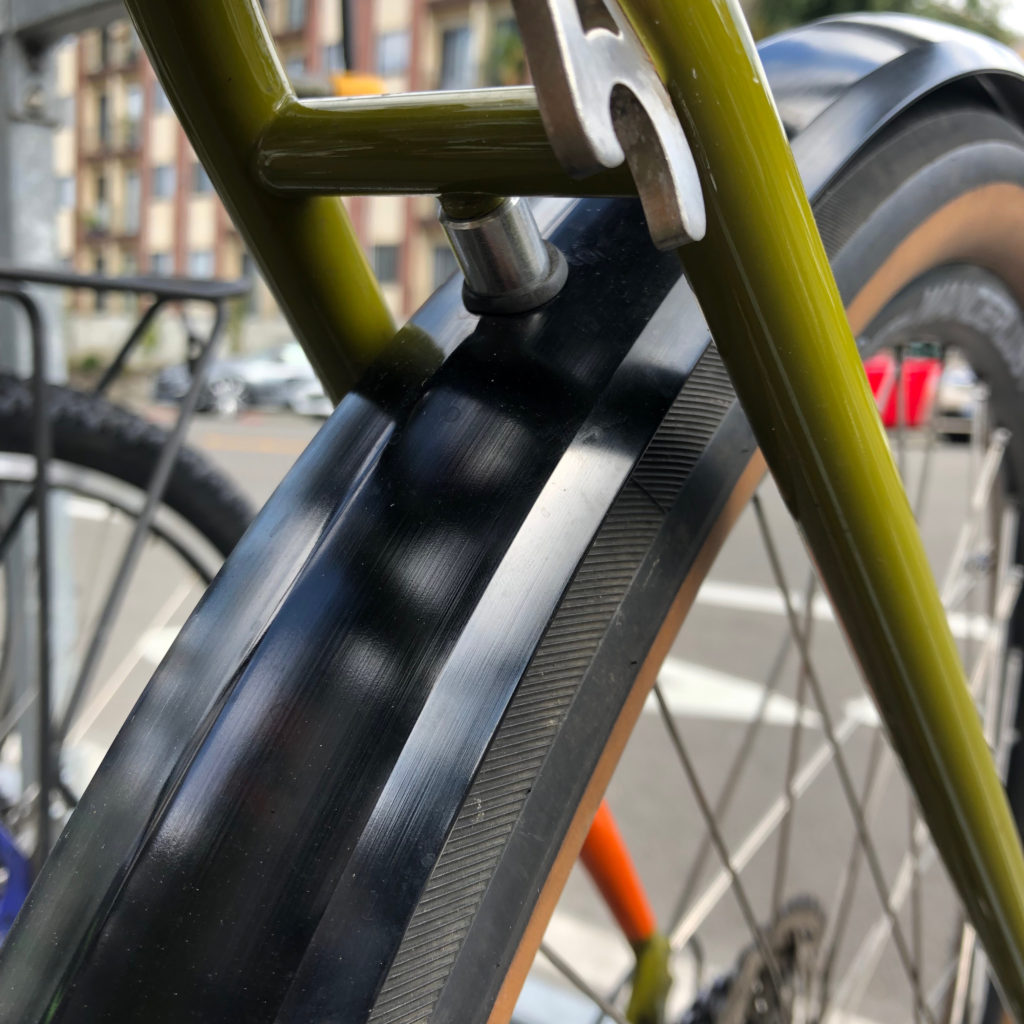
Planet Bike has a model of aluminum fender called the Cascadia ALX that tries to bridge the gap between plastic and metal. The hardware is pre-installed like a plastic fender and the shape of the aluminum allows more leeway to flex the fender to the proper radius. Not as much as plastic, but more than traditional aluminum. The fender moves more than traditional metal fenders during rough riding, but less than a plastic fender. It does have the underside mounted metal strap, which is a drawback, but a fixable one. If you’re looking for a metal fender but don’t feel comfortable with complicated installation, the ALX might be a good choice for you.
Measurements
Fenders come in lots of different sizes to fit your needs. Ideally, your fender should be 10mm wider than your tire and sit at least 20mm above your tire. Any less and debris can get caught between your fender and tire. If you can’t get those clearances on your bike, you may need to run a smaller tire to get the most out of your fenders.
The fender radius should be even with the tire all the way around. While aesthetically pleasing, this also eliminates tight spots that could catch debris or open areas where water can spray out.
All of this assumes you have room in your frame for fenders as well as proper mounting points on the frame. If you’re having trouble fitting fenders to your frame, seek advice from your local mechanic. There are lots of solutions and adapters that can help.
Mudflaps
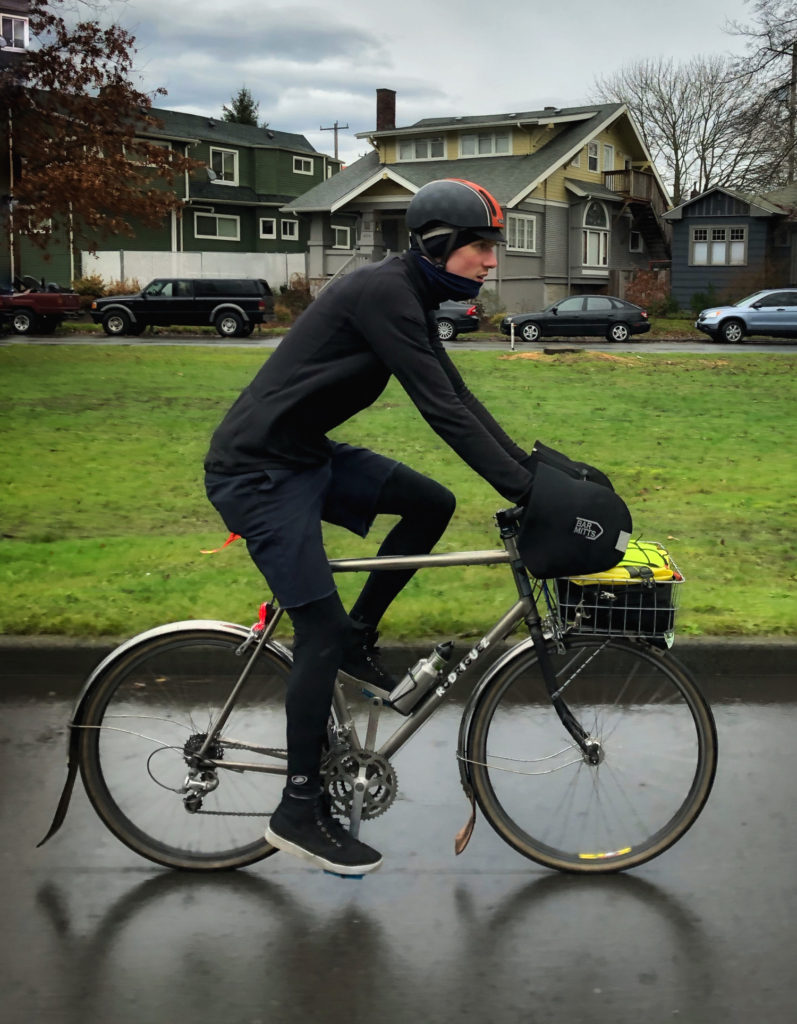
The humble mudflap might seem like an afterthought, but they’re essential equipment. There’s almost no stock mudflap that does an adequate job. A good mudflap in the front keeps your feet from getting splashed with road muck as well as keeping your frame a bit cleaner. A proper rear mudflap is essential for group rides. Nobody likes water spraying up into their face and all over their bike and clothing, and they won’t like you if you’re the cause of it. Mudflaps should be made out of a semi-flexible material like rubber, plastic, or thick leather and hang very close to the ground. Too flexible and it won’t stay where you need it. Too stiff and you might catch it on something and break it. Tightly bolting the flap to the inside of the fender will force the flap to conform to the shape of the fender, adding some stiffness. Also, a bit of extra width is useful in the front to better handle splashes from standing water.
Hopefully all of this is helpful in your quest for dry feet and year-round cycling success. As the old saying goes, there’s no such thing as poor weather, only poor preparation.
For some general cost info, here’s what some of these options would cost in our service shop:
Planet Bike Cascadia plastic fenders – $55 (installation – $35-45)
Planet Bike Cascadia ALX aluminum fenders – $70 (installation – $35-45)
Velo Orange aluminum fenders – $80 (installation $45-75)
Portland Design Works aluminum fenders – $125 (installation $45-75)
Honjo aluminum fenders – $180 (installation – $75 and up)
For info on dynamo lighting, see this post.
For a comparison on frame materials, see Dan’s article.


